
Retired Techie
Getting older, not necessarily wiser!
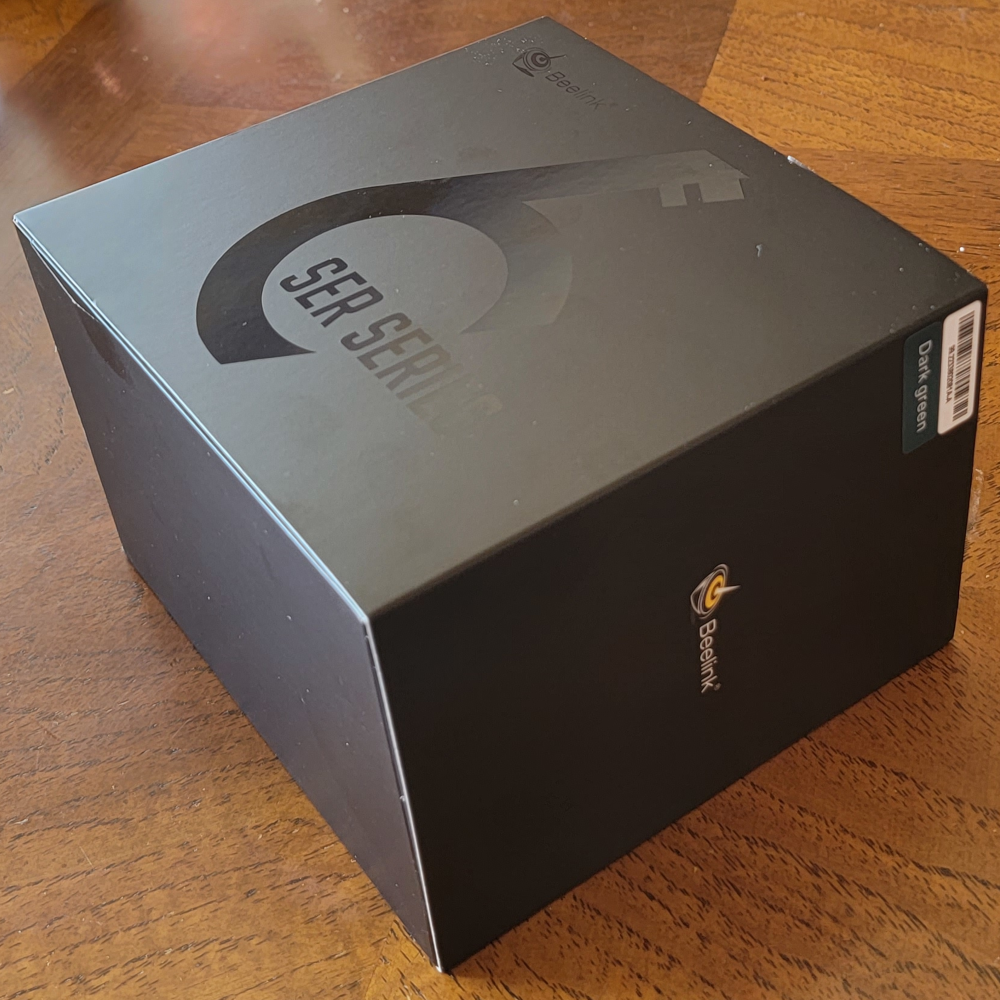
BeeLink Ser6 Max Review
Published on November 7, 2023 at 3:03 pm by LEWIntroduction
I have just finished my preliminary look at a BeeLink mini computer I recently acquired. The specific model is the Ser6 Max-E-321. And let me say right at the start, there are a few issues with this offering that some might consider deal breakers.
This is sad because there is a whole lot of potential here, that may be squandered by some really stupid boardroom decisions, art least from my point of view. I will state up front that I was gifted this mini computer. Because of a few major issues, I would probably never have bought one myself.
Having said that, there is a lot to like also. This is a small form factor computer that has equivalent performance to many a mid level full size systems, yet taking up a fraction of the desk space and power usage.
But lets jump into it and see where it goes. I will first cover what I find to be some rather glaring faults with the overall package.

Where the Overall package Falls Short
The first place things fall apart is with the manuals, both shipped and on-line. I use the Intel 8th generation NUC manual as a comparison, which is very good. It shows how to disassemble, install upgrades, and provides a complete set of technical specifications.
First, the online manual either does not exist or is not accessible. I found a link to a basic user manual that did not work. And it was in the BeeLink forum rather than on the service page for the device. This shortfall also includes a lack of a readily accessible specification sheet.
The manual that shipped in the box was about what I expect now days. It was in several different languages. The actual manual length was about four smaller than postcard size pages long.
Now I don’t mind a poor quality low information manual shipped with the product as long as there is a decent manual available on line. No on line manual is a huge red flag for me.
Power Adapter and Power Connector
Next issue, the power adapter that comes with it is single region, based on where you order from. In my case it was a 110 to 120 V supply. Unfortunately I will likely be using this unit in the Philippines (220V) at some point. This reminds me of the issue I have had with NetGear and ARLO. In this day and age there is no excuse for a company not shipping a universal power adapter with their product.
This bring me to another aggravating problem. The adapter sent has a unique power connector hardwired. And while the design is interesting and even functional, it is still unique.
What should have been done was to have the unique adapter sent with a standard power supply connector on one end. Then one could actually trade out power adapters for one that meets ones requirements. Doing it that way would mean if you are working in another region with different power requirements, you would not be hamstrung by the proprietary connector. This is something I may look into doing myself at some point.


USB C Power
The one possible saving grace here is that the mini computer can be powered via one of the USB4 C ports. I was able to successfully boot up mini computer using an old Lenovo Laptop USB C charger.
The charger is universal (100 to 240 V, thumbs up Lenovo!) and rated at 65 watts. It provides 3.25A at 20 V. The power adapter that came with the device provides 5.26 A at 19.0 V. Under load the 65 watt supply is not adequate. The computer died trying to run a cinibench test. For long term and higher load usage, I will want to try a USB C 100 watt power supply with the 20 v at 5 amps (that is the maximum current for USB4 to deliver at 20V, as of this writing).
Of course using a USB C power adapter consumes a monitor port. But then you did not really need to actually run four displays? I usually run two and sometimes three.
Construction
Lets jump to some other aspects of this mini computer. The box is metal and feels solidly made. The back plate is held on by four accessible screws (they are not hidden under rubber feet).
However the fan unit is held on by multiple screws, all of different lengths. You need to pay attention to which screw goes where. There are also several cables to be aware of, that can make it somewhat challenging to lift the fan unit.
Removing the fan unit exposes the two memory slots and one of the two M.2 Slots. The other M.2 slot being on the fan unit itself.
Internal Components
This specific model comes with a Ryzen 9 6900HX processor (8 cores 16 threads). The unit I have came with a 1 TB M.2 drive. From my research (again no convenient specification sheet) it appears the second M.2 slot has an optional expansion broad (purchase separately) to convert it to a SATA connector for a 2.5” HD/SSD if needed.
There are two memory slots. It came with 32 GB of DDR5 memory (16 GB in each slot). From my research it can take up to 64 GB of RAM.
There is built in Bluetooth and WiFi also.
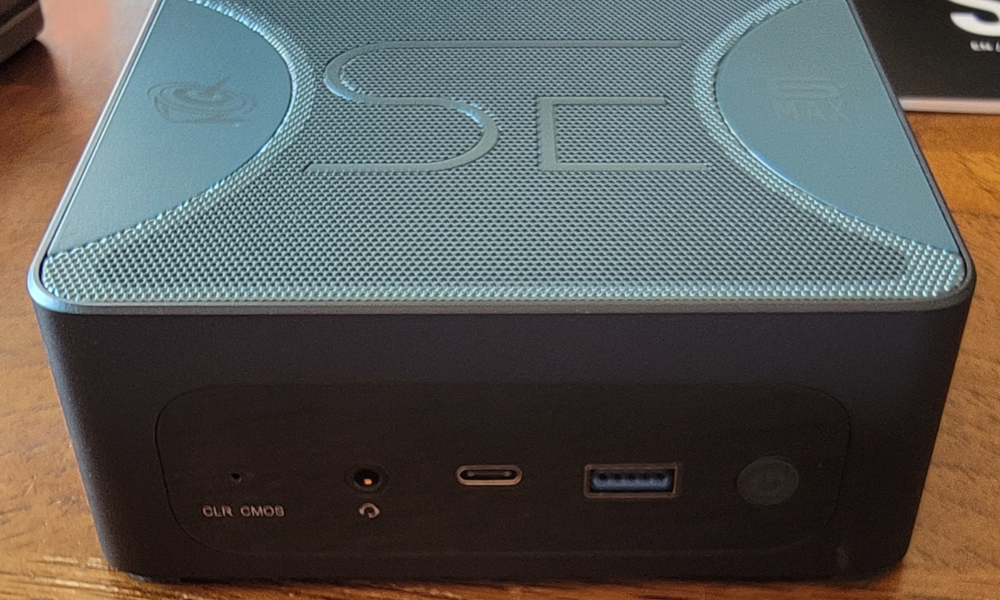
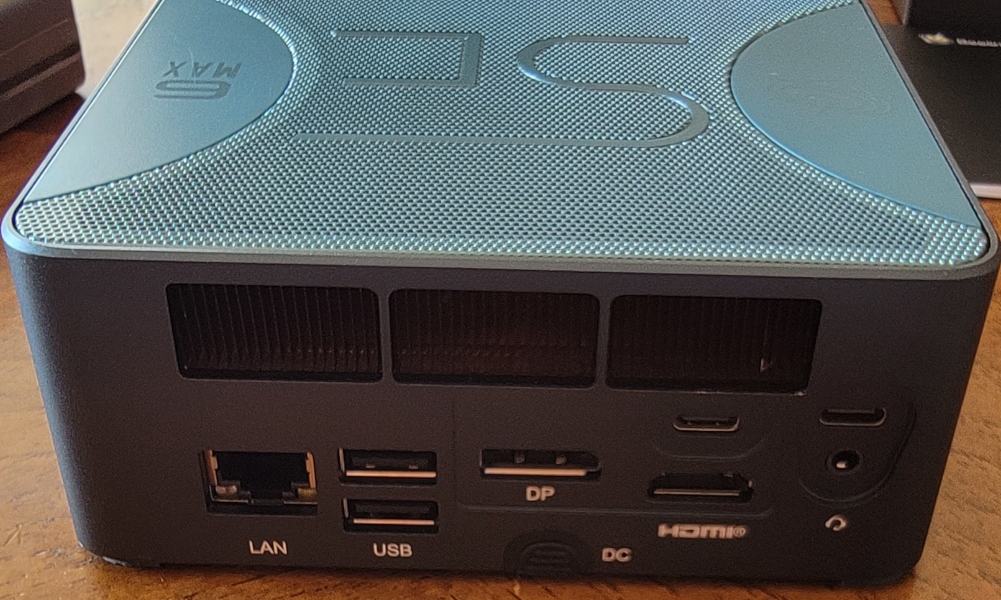
Available Ports
On the front of the unit are an audio jack, USB 3.2 Type C and Type A ports, a power button and a CMOS clear pin hole.
On the rear of the unit are another audio jack, a 2.5G LAN port, two USB 2 Type A ports, two USB 4 type C ports, an HDMI connector, and a Display port connector.
On the bottom of the unit is the magnetic power connector.
Performance
The unit I am using came pre-installed with Windows 11 Pro, rather than home (nice, most other computers I have acquired came with home). The Windows Operating System ran smoothly, with minimal lagging on initial boot.
Running a multi-core cinibench test gave results around 800. This seems quite a bit lower than I was expecting. One thing I noticed during testing, the processor was maxing out at 4.1 Ghz. If one looks at the specifications from AMD, it is suppose to turbo up to 4.9 Ghz. I suspect this is being limited by BIOS Power and TDP setting (54W vs 65W). I suspect one would need a bigger power supply if run at 65W (if the scaling is linear this would push it to 120 to 125 watts, the supplied power adapter is 100 watts).
The fan noise was reasonable while running the cinibench tests, not overly loud. The computer is very quiet when not running under maximum load.
While I have not run any games yet, the above will limit performance. And this makes me think there is some contradictory information on their web site. I do not have a lot of faith in the frame rates being advertised.
Conclusion
This is not a bad mini computer, but it could have been so much better with just a few simple tweaks. It will probably run most older games at medium settings with few issues. I suspect one would need to set the TDP higher and get a bigger power supply to run more modern tittles.
The power supply is the big downfall, mainly due to the propitiatory connector (which is kind of cool and functional, but still propitiatory) and being mono regional instead of universal.
My plan, once I resolve the power supply issue (probably void the warranty doing so) is to set this mini computer up as a Type 1 Hypervisor for some experimenting and testing that I want to do.
Add New Comment