
Retired Techie
Getting older, not necessarily wiser!
Fallout 4 Sanctuary Build Ceiling and Roof
Published on October 28, 2022 at 5:41 pm by LEWIntroduction
This is part 1 of my Fallout 4 Sanctuary Build. In this post I will be fixing the roof on one of the houses. Note I will be using console commands, so if you consider that a cheat, then you probably do not need to read any further.
I was thinking about trying my hand at doing a video, but decided against it. First, my current setup could not handle running Fallout 4 and recording video at the same time without major frame rate droop outs. Second, no one wants to see my ugly mug or listen to my boring voice. Third, there are plenty of other Fallout 4 videos out there, and I do not want to fall into the trap of overlong stuffing of videoes. For example the “No Mods Shop Class” series is great, but to me the videos seem over long (about 50% to long). See, I am already being over long.
Console Caveats
I already said I will be using Console commands. The main purpose of this is to get around what I consider limitations in the build system that should have never been there in the first place. I consider what I am using as correcting a game deficiency, not a cheat. But I have no doubt a lot of people will disagree with that assessment.
To access the console on PC (not sure about gaming consoles as I don’t have one), you need to press the backward apostrophe key(`) in the upper left corner of your keyboard.
I will be using the following set of commands for working on the roofs of the houses in Sanctuary.
-
getpos x, getpos y, getpos z, getangle z
-
setpos x, setpos y, setpos z, setangle z
-
modpos x, modpos y, modpos z, modangle z
House with new Roof
Below are a couple of examples of re-roofed houses. This repair includes patching the ceilings as well as the roofs.
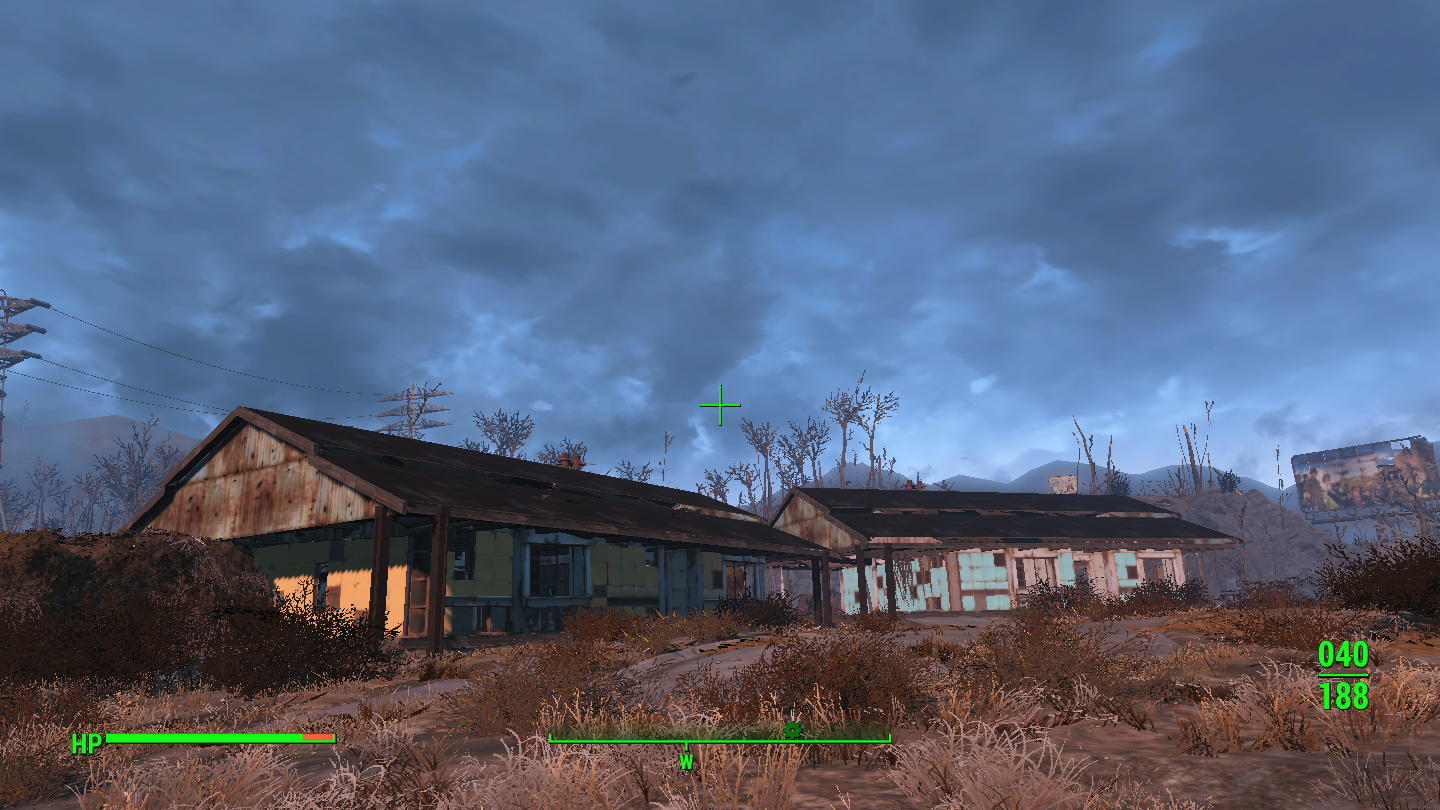
They do not look all that great, but at least they should not leak when it rains. With the technique discussed here, it would also be an easy step to add flooring.
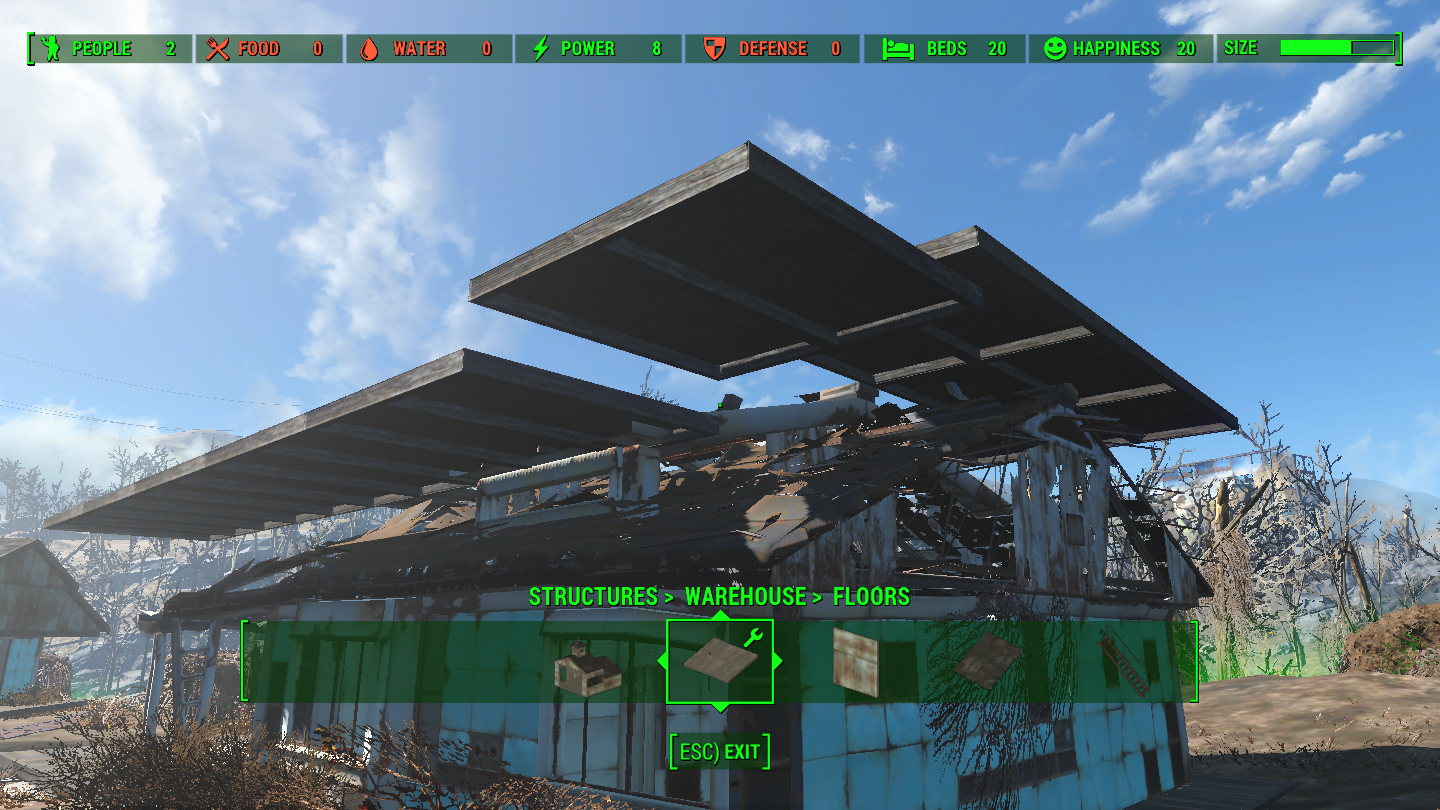
For this I am using the warehouse build set. This assumes you have the Contraptions DLC installed.
Also of Note
This build takes a lot of materiel. I went around and basically scraped everything I could in Sanctuary before starting to build. I then visited most of the surrounding areas bringing back lots of junk. I took the scraper perk, and scraped every gun and piece of armor I could get my hands on. This provides additional wood ans steel, along with some other components (modded guns/armor provide the most and best scrap). You can go back around in a few days and the areas re-spawn. If you are patient, you can have a near limitless supply of basic building materials.
You can also setup a scraping station and assign a settler to it for a slow constant flow (this seems to depend on what is in your workbench though) of building supplies.
You will want to use the well rested perk, or pick up a companion to get romantically involved with, to increase earned experience. This type of building can net you several levels if you are patient.
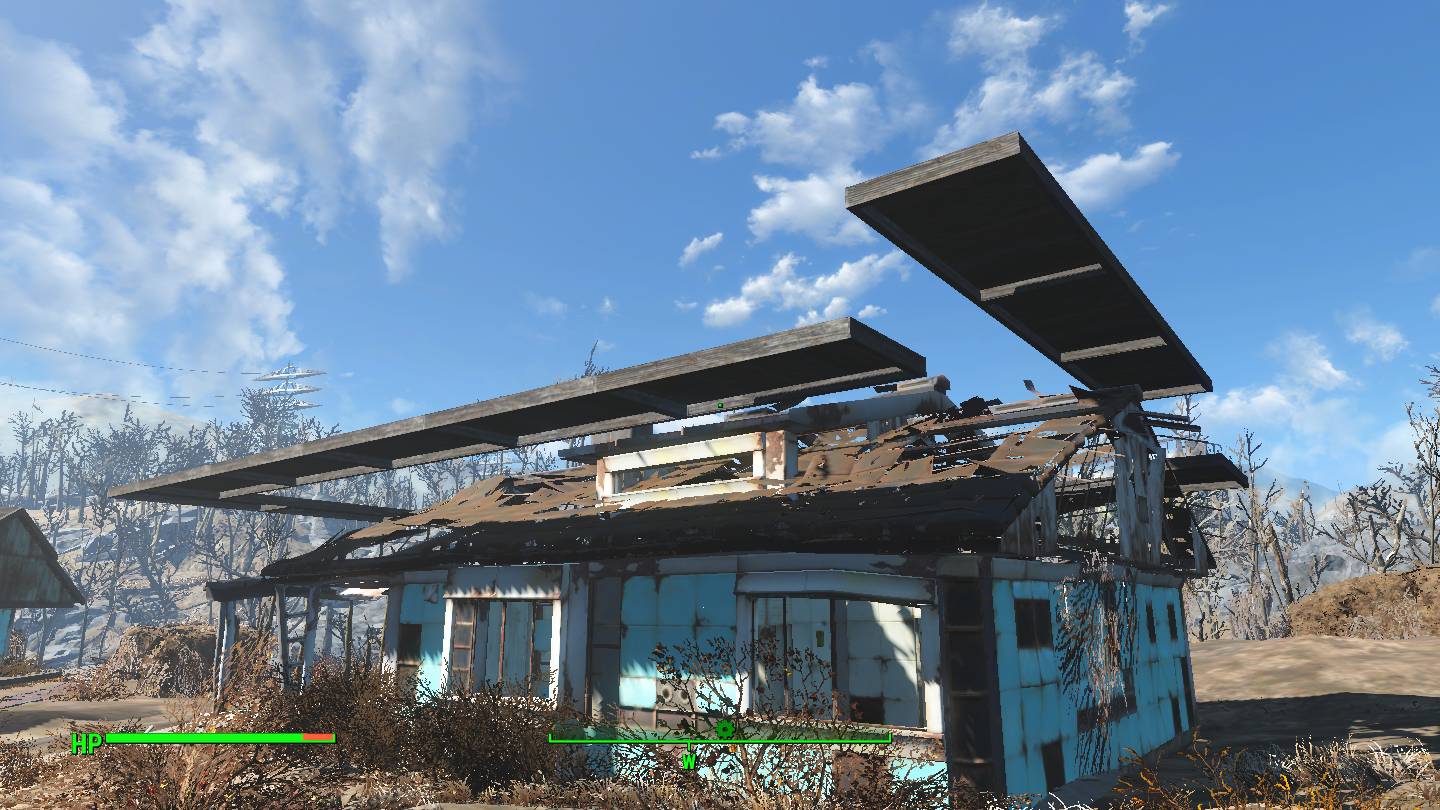
Starting the Build
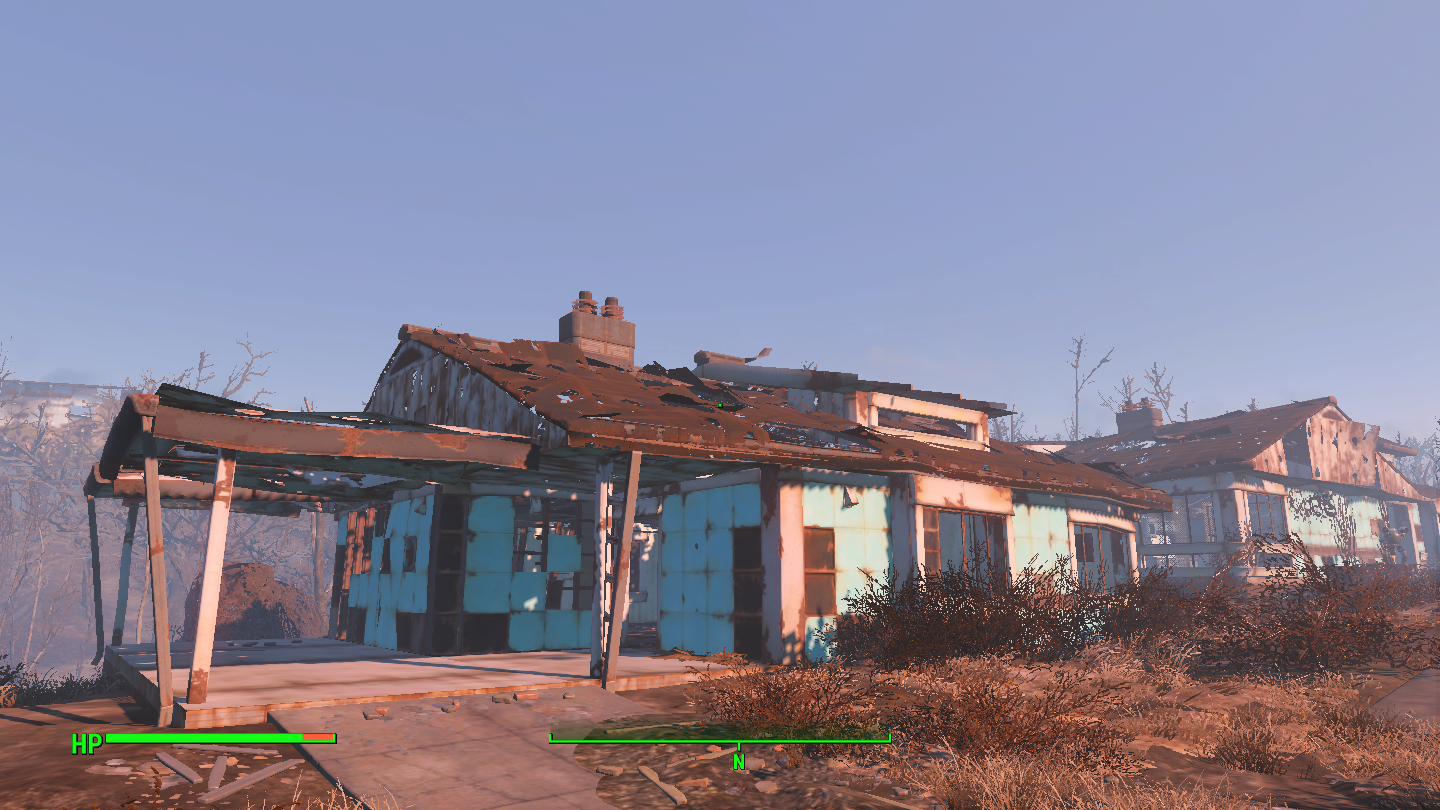
This is the house I will be working on. It has a carport, kitchen, and a couple of bedrooms.
The first thing we need to do is get a corner piece placed correctly. This will affect the rest of the build. So it is probably one of the more important parts. We will use a half slab piece.
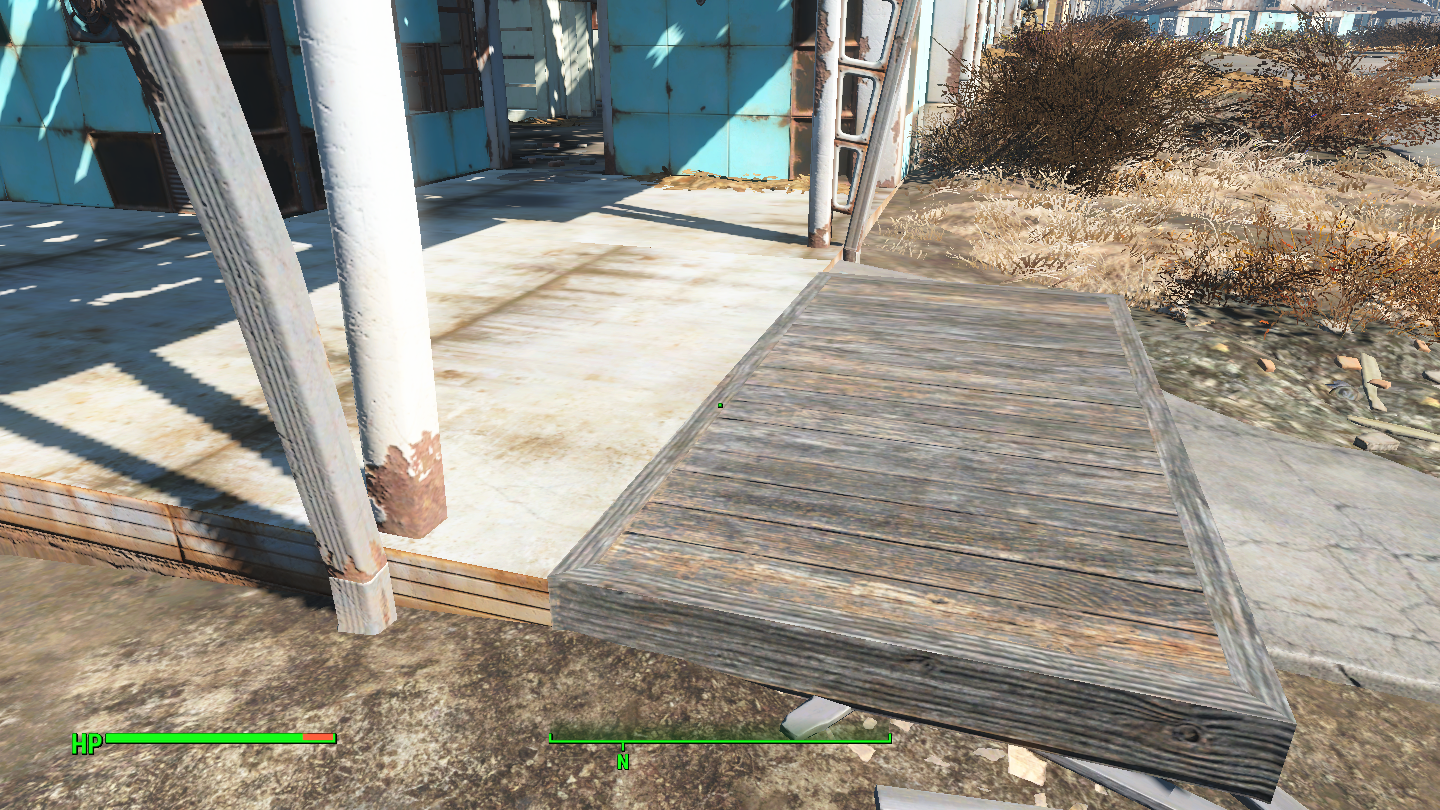
First rough position the piece as best you can using the regular build method. Then open the console and click on the object. Use the modpos commands with smalll numbers (for example; modpos x 1, modpos y -1, mod z 2, or modangle z 1.5) to get better alignment. It should be at the height of the foundation, align with the corner, and have no gap between the piece and the foundation.
Next we will use modpos z 20 several times (you can use bigger numbers when you feel more comfortable with the method) to get the half slab above the house.
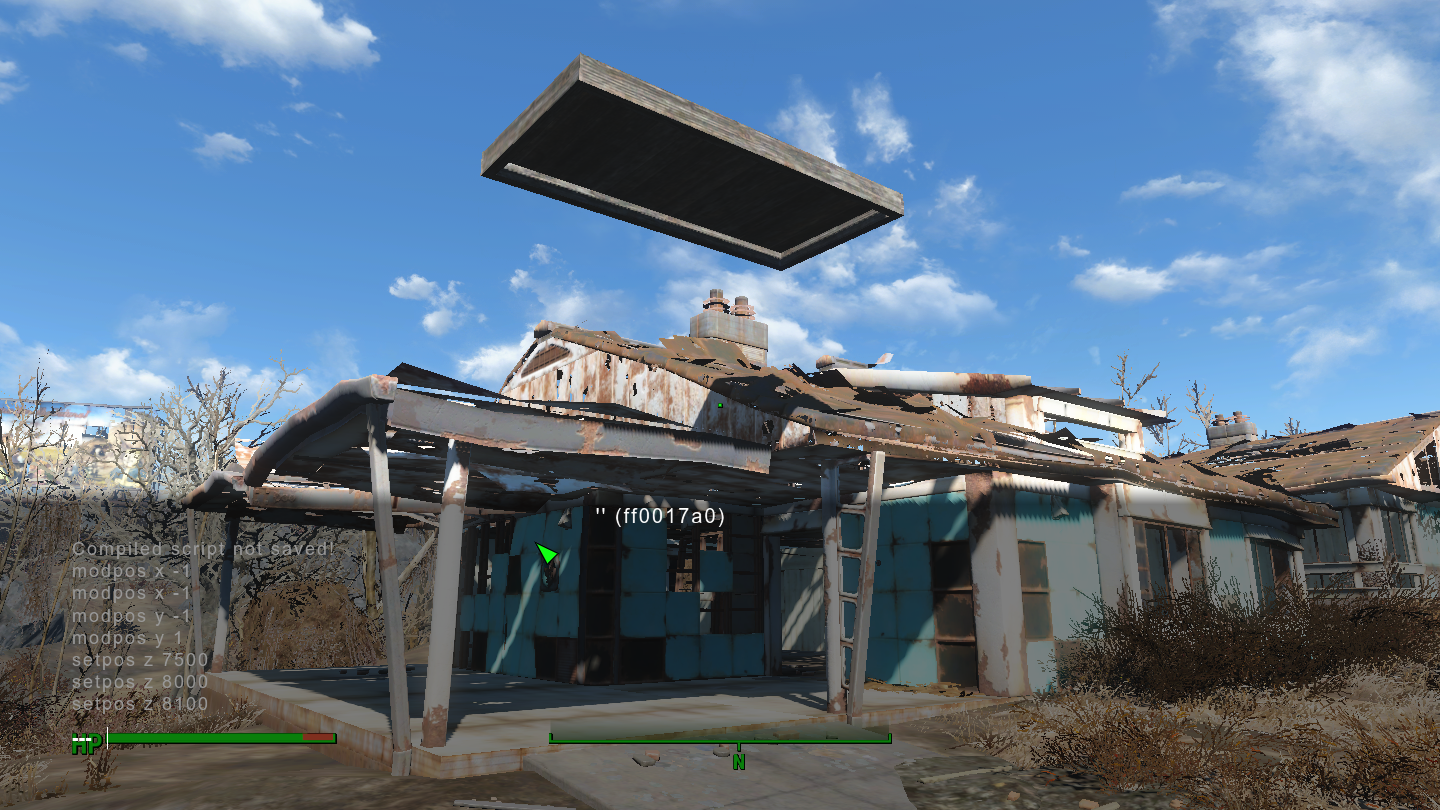
Once it is free of obstructions we can add additional half slabs (using normal building snap) to surround the house. You may need to move some slabs up or down to clear various roof obstructions.
Note that if you fill in the open center and lower items using modpos z, you can place them within the house to give you a nice wood floor. You want to position them on the z access until they just hide the floor. Once you move one to the correct height, you can then use getpos z to find the z height, then use setpos z to automatically move the rest to the correct height.
I move most of the half slabs down at this point also, as they will be part of the roof support structure (depending on how far your roof overhangs the house. I do leave one at height above the house.
Building the Ceiling
Using your remaining half slab as a snap point you can position full slabs to make up the ceiling. Note that the width will vary depending on the house, but the depth should be four full slabs.
Remember you may have to adjust z height to avoid roof obstructions.
Once you have a full slab in place you can lower the remaining half slab down to get it out of the way. And you will want to adjust all the full slabs to be on the same Z level.
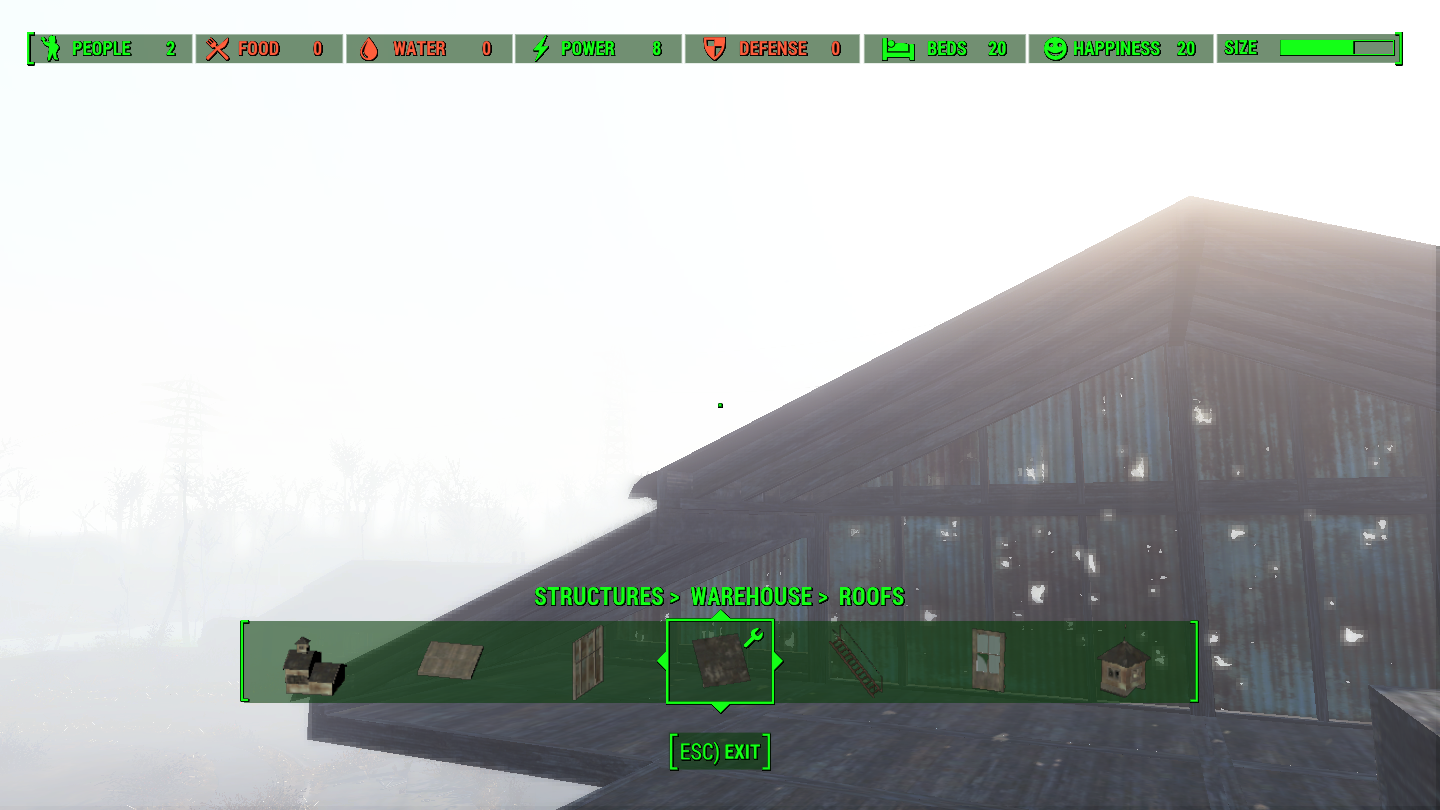
Building the Roof
At the end of the house you will want to add two half walls to the ceiling. They should snap in place. Then you will want to add the outside angle walls, two left and two right. They will snap to the half walls. Then build the outside wall on the other side also.

Next we add roof pieces. They will snap to the outside walls then to each other. Just make sure not to trap yourself inside as you add roof pieces.
Lower the Ceiling and Roof
Now select one of your ceiling tiles, and use getpos z to get its z height. Then use modpos z to slowly move it down. You will want to go inside to verify the height is correct for what you want.
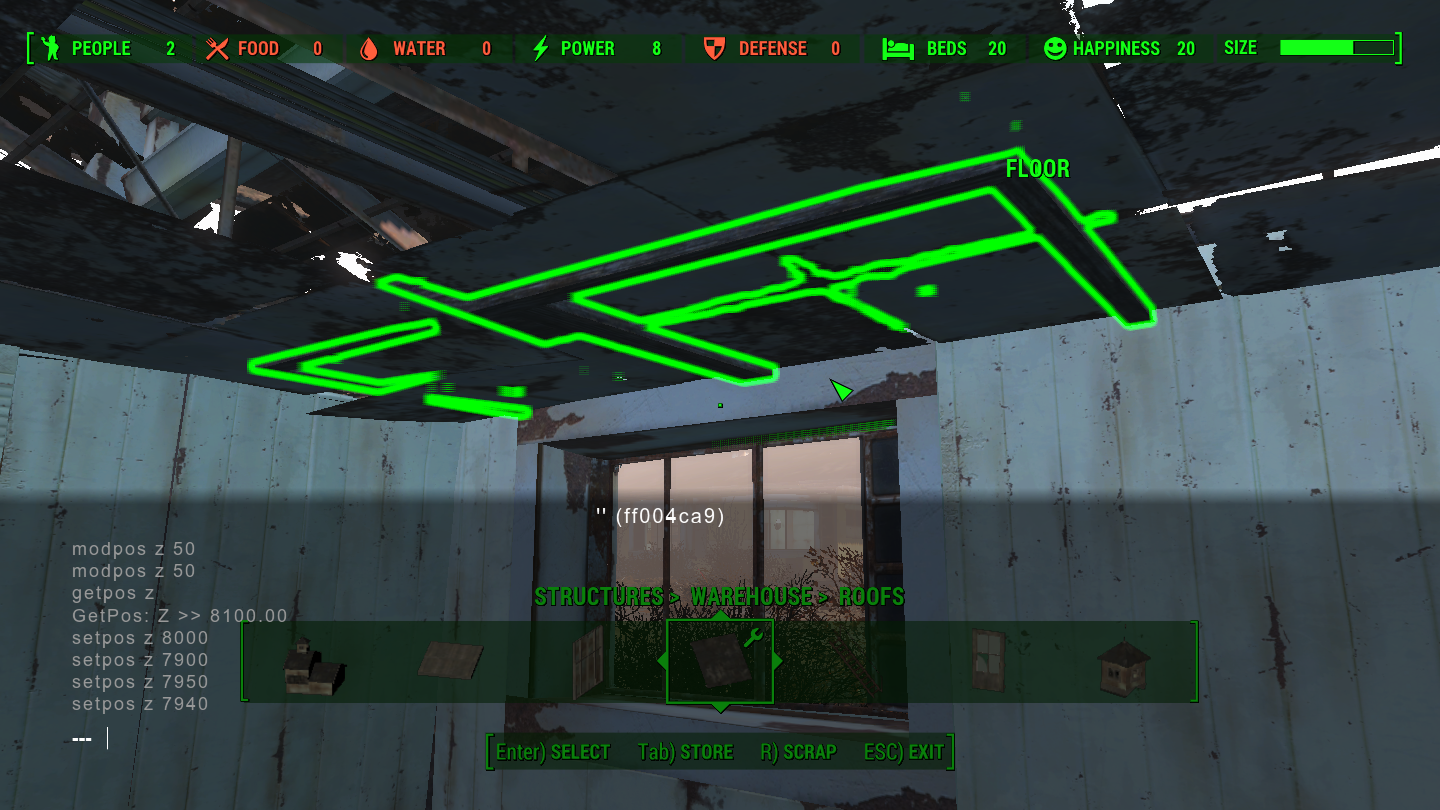
Once you have it at the correct height, get its new z position. Subtract this from the original z position. This will give you a value to work with using the modpos z command.
Use the modpos z command to move all the ceiling tiles, end walls, and roofing pieces down.
And you are done. For aesthetics, depending on how much the new roof overhangs, you can add some support pillars. You should also have a deck around the outside of your house you can add chairs and tables too.
Conclusion
In this post we have added a roof, ceiling, and deck to a house in Fallout 4’s Sanctuary settlement. You could do this without using the console, but it would take a bit longer and a whole lot more patients.
Add New Comment