
Retired Techie
Getting older, not necessarily wiser!
Moving a Network Jack
Published on March 18, 2022 at 5:19 am by LEWIntroduction
This is a continuation of a previous post about network modifications I am making, due to my office being moved.
In said previous post, I mentioned my office was moved form the first floor to the second floor. Unfortunately there was not network jack at the second floor location. Also, since the house is made form cement, it is not an easy job to pull new cabling.
On the plus side, there is a network jack on the other side of a wall in the guest room. So I am going to commandeer that connection for my office. That process is what I will be covering in this post.
Equipment and Tools
Since I will be drilling through a cement wall, I will be using a hammer drill and a long masonry bit. The hole has to be big enough to accommodate two network cables (I will be putting a dual jack on my side so if necessary I can restore network connectivity to the guest room).
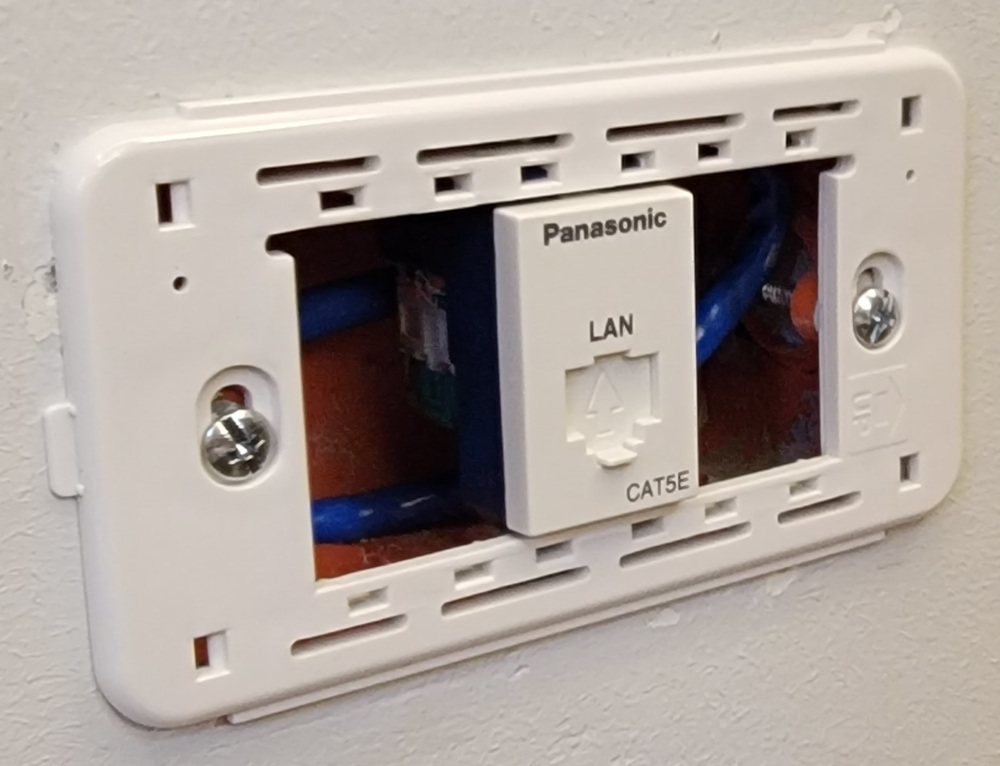
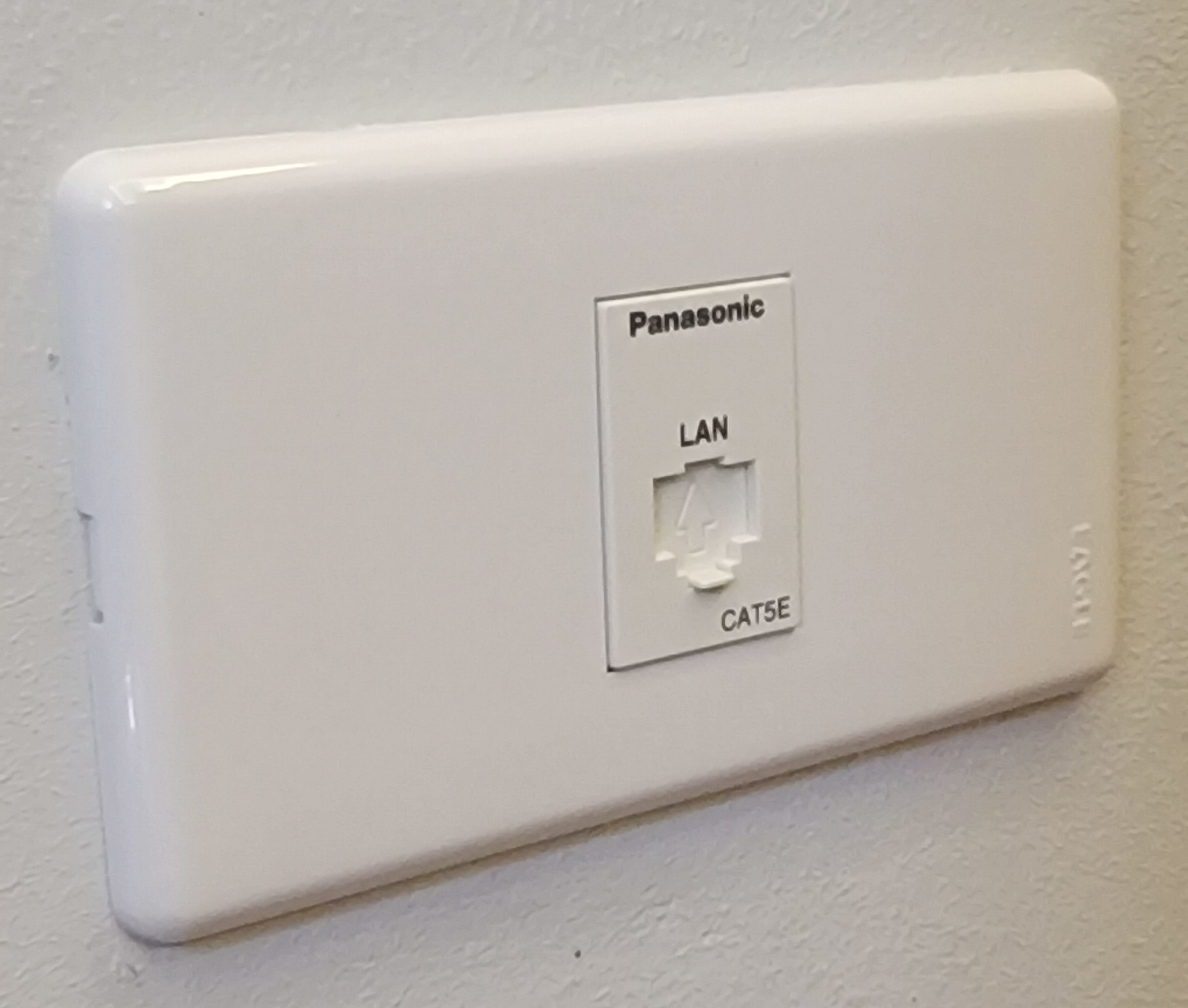
The guest room network jack has always been a little flaky, so I will be replacing it with a new one. There is already an embedded box on the guest room side, so I will only need the cover plate.
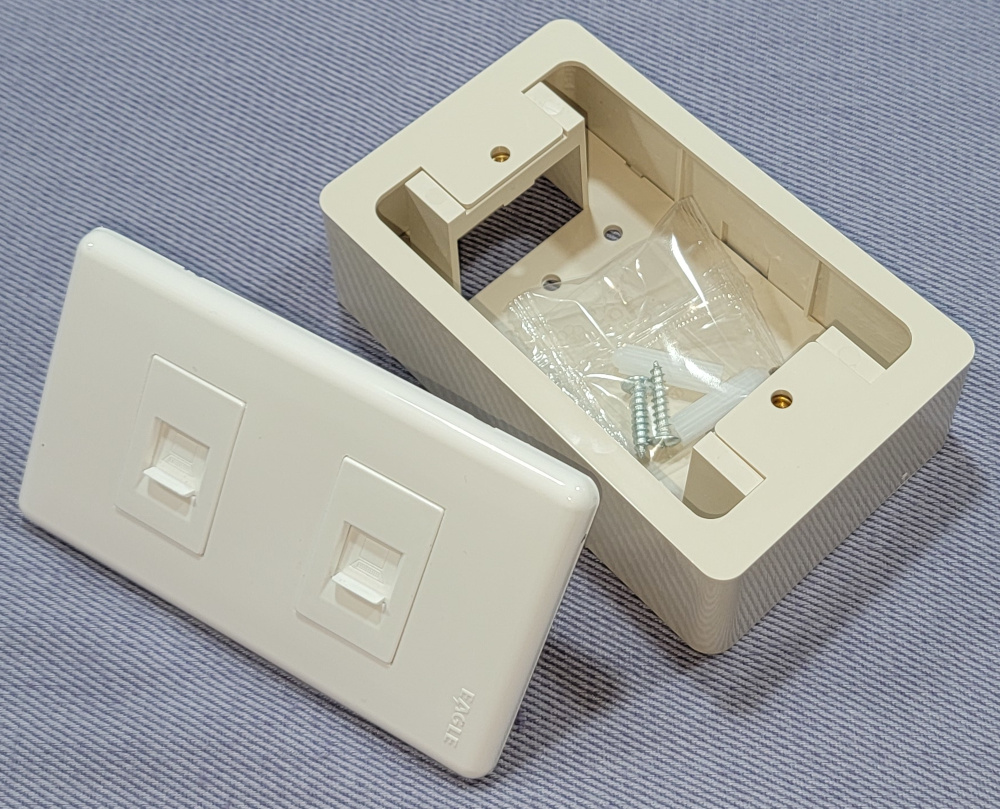
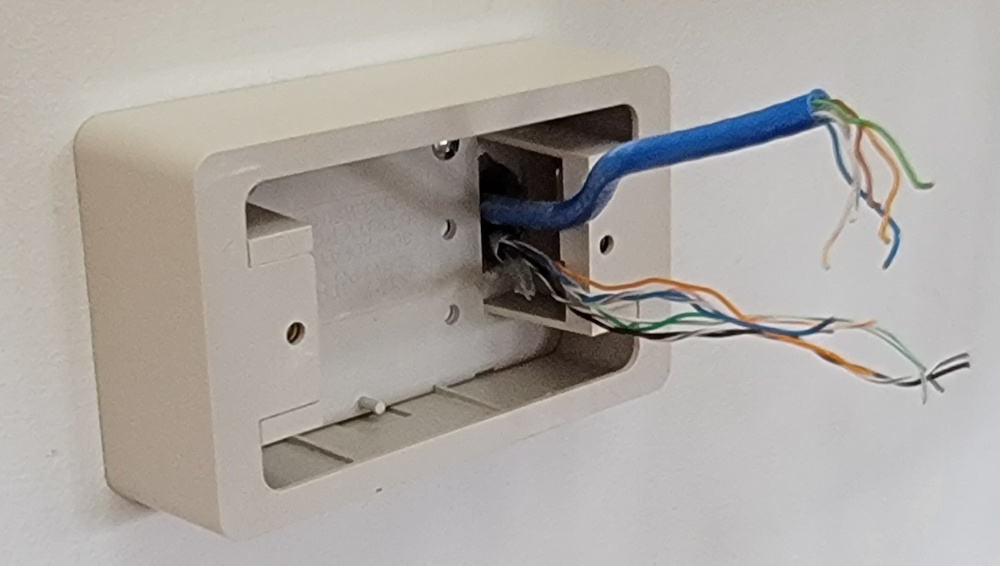
On the office side, there is no box, so I will be adding a surface mount box. Plus I will need a dual network jack cover plate.
Other items I will need; a couple of feet of network cable ( have a partial roll of CAT 6 to draw from), standard Phillips and straight screw drivers, Side cutters, and a punch down tool (note the back of a small knife will work if you do not have one).
Procedure
- Open up the guest room network box to make sure I have enough cable. This may be a limiting factor in some cases. For me it was barely long enough. This is also a good time to inspect the existing jack and see if it is using T568A or T568B (A or B for short) wiring standard. In my experience most home networking cabling uses the B standard. There may also be a small chart on your network jacks showing both wiring schemes. Snap a clear picture of the connections to refer to later if needed.
- Check both sides of the wall to make sure there are no unseen electrical cabling to worry about. I opened the wall outlets to see which way the cables went. In each case it went down instead of sideways. This meant the only thing I might have to worry about was hitting a random piece of rebar. Drilling the hole was surprisingly easy and anticlimactic.
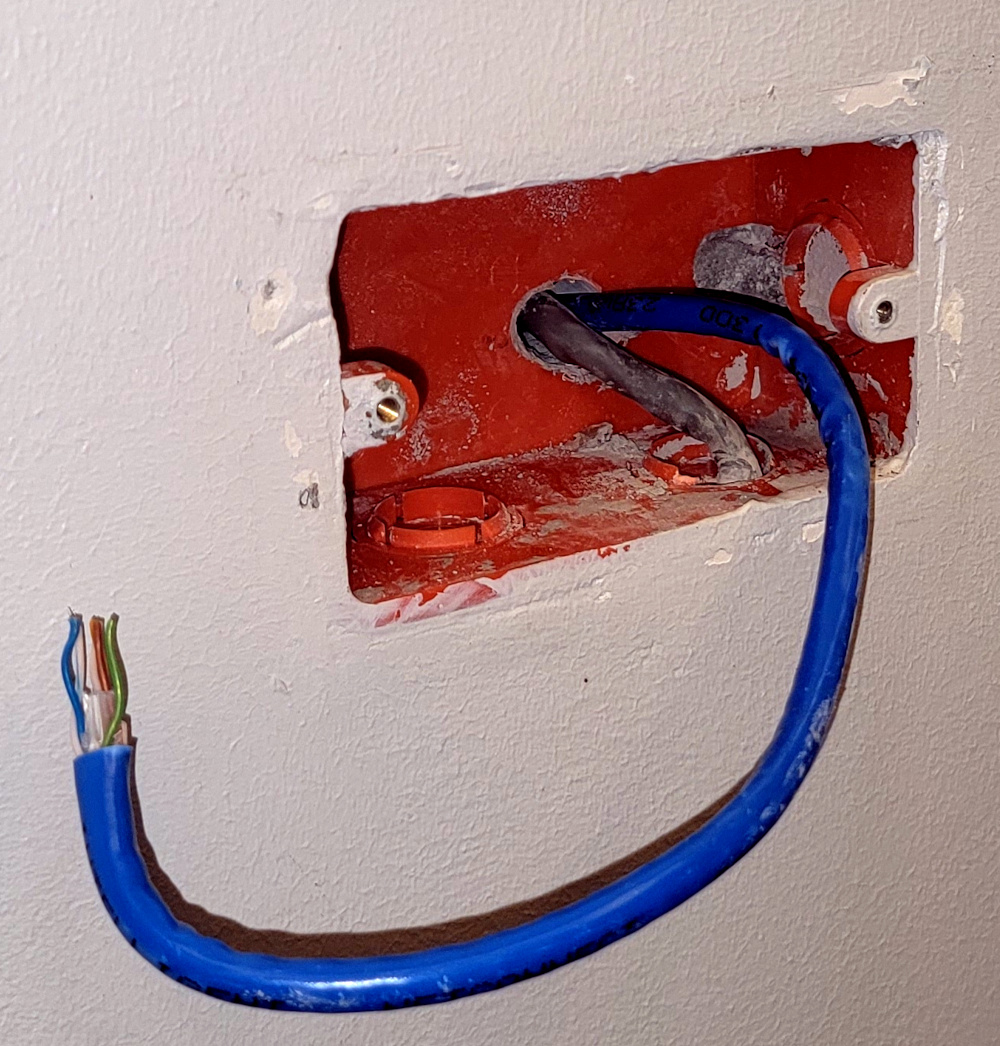
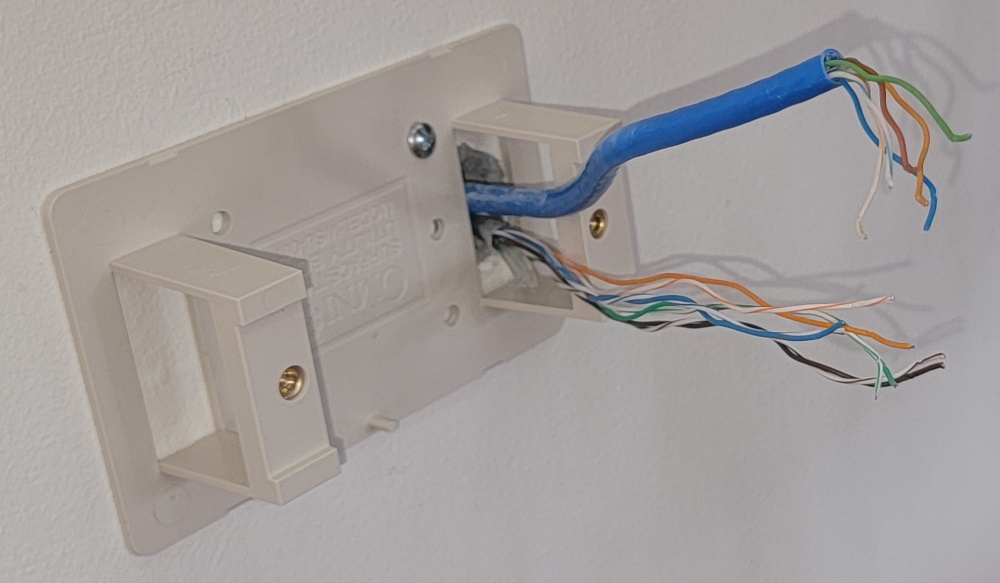
- Route the cables to their destinations. In my case I pushed the existing cable through the hole first, then pulled the new cable through after. I had to use the drill to enlarge the hole slightly so both cables would fit without issue. See the image from the guest room side of the wall.

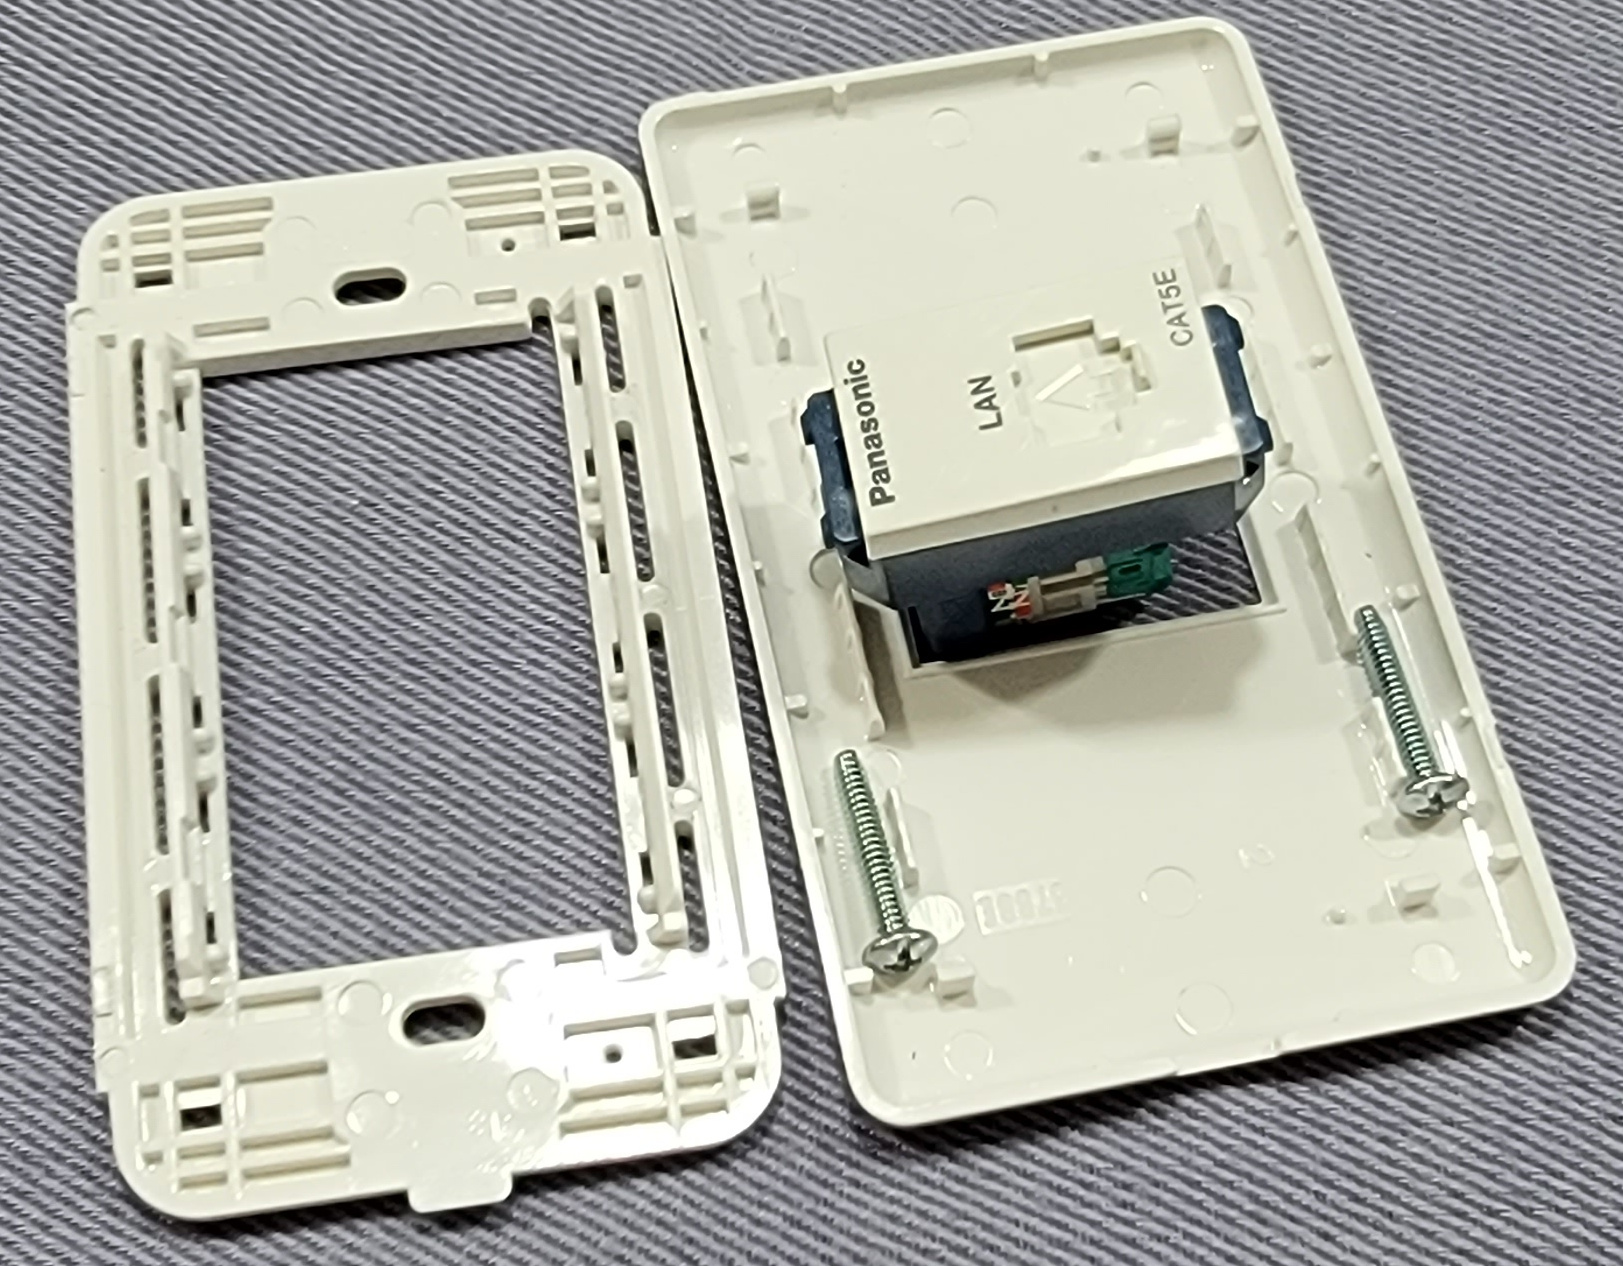
- Strip back sufficient insulation (I do about 1 inch or 2 to 3 CM) and punch down the wires into the back of the jack (This will be either A or B as determined earlier). Assembly will depend on the type of jack you are using. Check the with the manufacture if there are any questions. After punching down the wires, reassemble the outlet.


- On the office side of the wall, attach the surface mount box and rout the wires into it. This will depend on the type of surface mount box that is being used. Check manufacturer documentation. Punch down the cable wires to the back of the jacks and install cover plate. Make sure to dry fit first, so you can determine if some of the cover parts need to go on before punching down the wires.


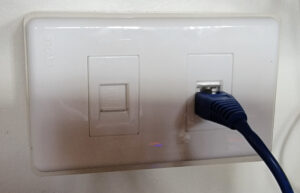
- Depending on how difficult it is to attache the cover plates, you may want to test the circuit first. Either way use a network tester or connect computers to each end to verify the network connection.

Conclusion
It was surprisingly easy to get the network connection moved to my new office. But then I did not have to pull any cables. Since all the network runs terminate in the old office space, I installed a switch there to give myself access to the rest of the house network.
This project was not overly difficult and only took about two hours. It was something of a surprise to me how fast everything came together.
In a future post I will detail how I had to wire the network to make everything work.
Add New Comment